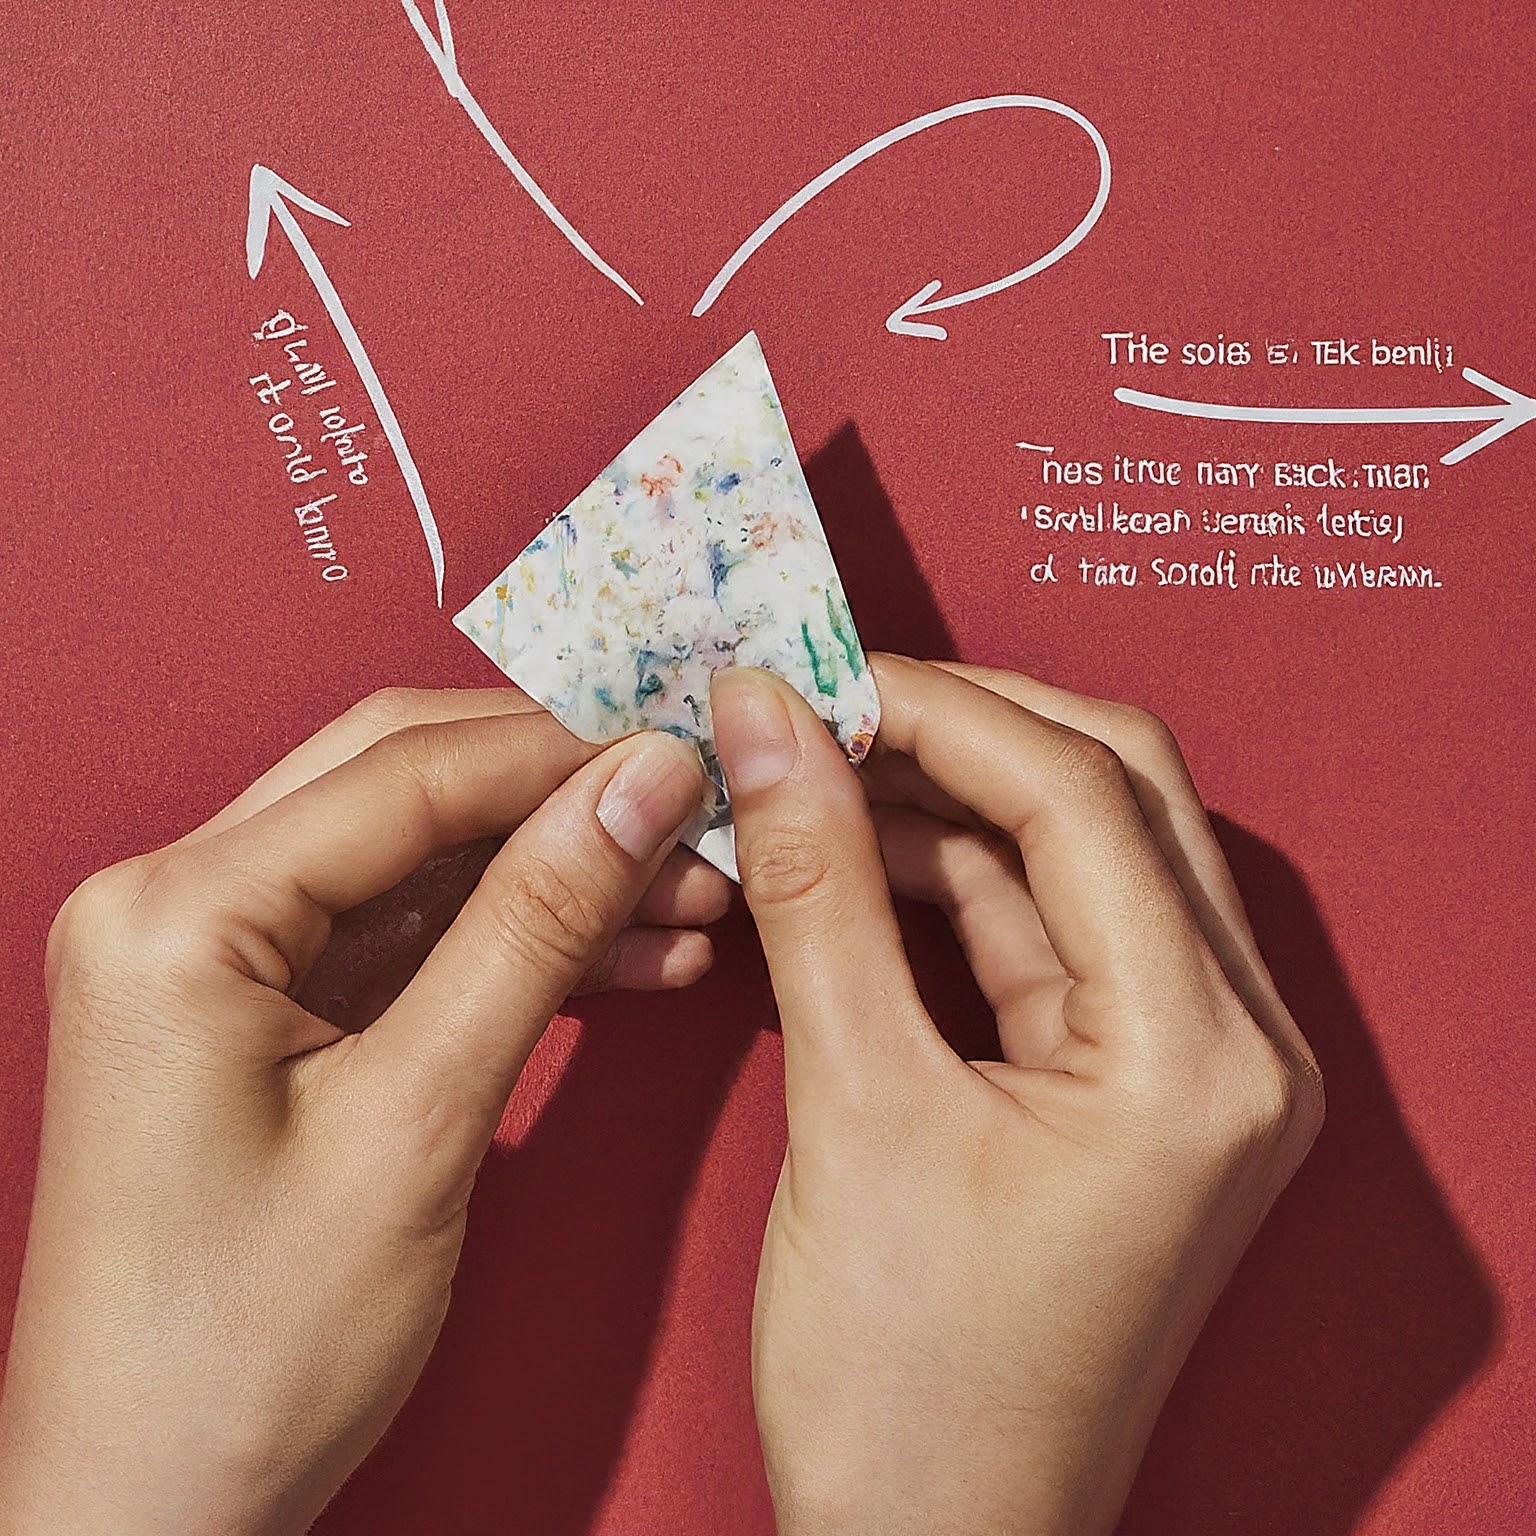
Crafting Sentiment: Making a Heart from a Gum Wrapper
In a world filled with the hustle and bustle of everyday life, sometimes it’s the smallest gestures that can bring the most joy. Imagine being able to create a symbol of affection and care using just a humble gum wrapper. Yes, you read that right! In this blog post, I’ll guide you through a simple yet delightful craft: making a heart out of a gum wrapper.
Why Make a Gum Wrapper Heart?
Before we delve into the how-to, let’s talk about the why. Making a heart out of a gum wrapper isn’t just about the end result; it’s about the process and the sentiment behind it. It’s a spontaneous act of creativity and affection that can brighten someone’s day. Whether you’re looking to surprise a loved one, create a unique gift, or simply enjoy a meditative crafting session, this little project is perfect for anyone seeking a heartfelt gesture.
Materials Needed:
To embark on this crafting journey, gather the following materials:
- Gum Wrapper: Any standard rectangular gum wrapper will work. The foil type wrappers are preferable due to their durability and flexibility.
- Hands (and a Heart): Your hands are your primary tools for this project. A steady hand and a bit of patience will go a long way.
Step-by-Step Guide:
Now, let’s get down to crafting your gum wrapper heart:
Step 1: Flatten the Wrapper
Take your gum wrapper and gently flatten it out on a smooth surface. Smooth out any creases or folds so that you have a clean, flat rectangle to work with.
Step 2: Fold in Half
Fold the wrapper in half vertically, bringing the top edge down to meet the bottom edge. Press along the fold to create a sharp crease.
Step 3: Fold the Edges
Next, fold the left and right edges of the wrapper towards the center fold you just made. This will create a long, narrow rectangle.
Step 4: Fold the Top Corners
Now, take the top corners of the rectangle and fold them inward towards the center, creating two triangles at the top of the rectangle.
Step 5: Create the Heart Shape
Carefully fold down the top of the rectangle to form a triangle shape. Then, pinch the center of the triangle to create the indentation at the top of the heart. Adjust the folds and creases as needed to achieve a symmetrical heart shape.
Step 6: Perfect the Heart
Gently unfold and refold any parts of the wrapper to perfect the heart shape. Pay attention to the curves and proportions to ensure a pleasing result.
Step 7: Finish and Display
Once you’re satisfied with your gum wrapper heart, smooth out any remaining wrinkles and gently shape the curves of the heart. You can now place it on a card, attach it to a gift, or simply display it as a charming decoration.
Final Thoughts:
Making a heart out of a gum wrapper is not just about the craft itself; it’s about the thought and sentiment you put into it. It’s a reminder that beauty and meaning can be found in the simplest of materials and gestures. Whether you’re crafting solo or with loved ones, this activity encourages creativity and brings a moment of joy into your day.
So, next time you finish a piece of gum, don’t discard the wrapper just yet. Instead, turn it into a miniature masterpiece—a tiny token of love and creativity that’s sure to bring a smile to anyone’s face.
Remember, it’s the little things that often make the biggest impact. Happy crafting!


